Secured NiFi cluster with NiFiKop with external dns on the Google Cloud Platform

Alexandre Guitton
Alexandre GuittonObjectives
This article is pretty similar to the Secured NiFi cluster with NiFiKop on the Google Cloud Platform one.
This time, we will also use NiFiKop and Terraform to quickly :
- deploy a GKE cluster to host our NiFi cluster,
- deploy a
cert-managerissuer as a convenient way to generate TLS certificates, - deploy a zookeeper instance to manage cluster coordination and state across the cluster,
- deploy X secured NiFi instances in cluster mode
- configure NiFi to use OpenId connect for authentication
- configure HTTPS loadbalancer with Client Ip affinity to access the NiFi cluster
- dynamically re-size the cluster
We will :
- deploy external DNS instead of manually declare our DNS names.
- delegate the certificates authority to Let's Encrypt
Pre-requisites
- You have your own domain (you can create one with Google) : it will be used to map a domain on the NiFi's web interface. In this post, we will use :
trycatchlearn.fr.
Disclaimer
This article can get you started for a production deployment, but should not used as so. There are still some steps needed such as Zookeeper, GKE configuration etc.
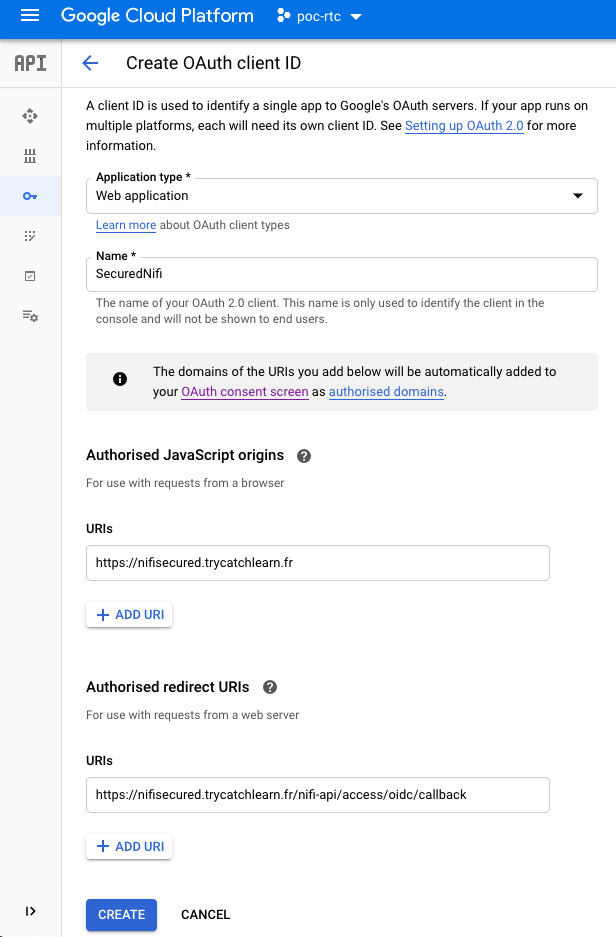
Create OAuth Credentials
First step is to create the OAuth Credential :
- Go to your GCP project, and in the left bar : APIs & Services > Credentials
- Click on
CREATE CREDENTIALS : OAuth client ID - Select
Web Application - Give a name such as
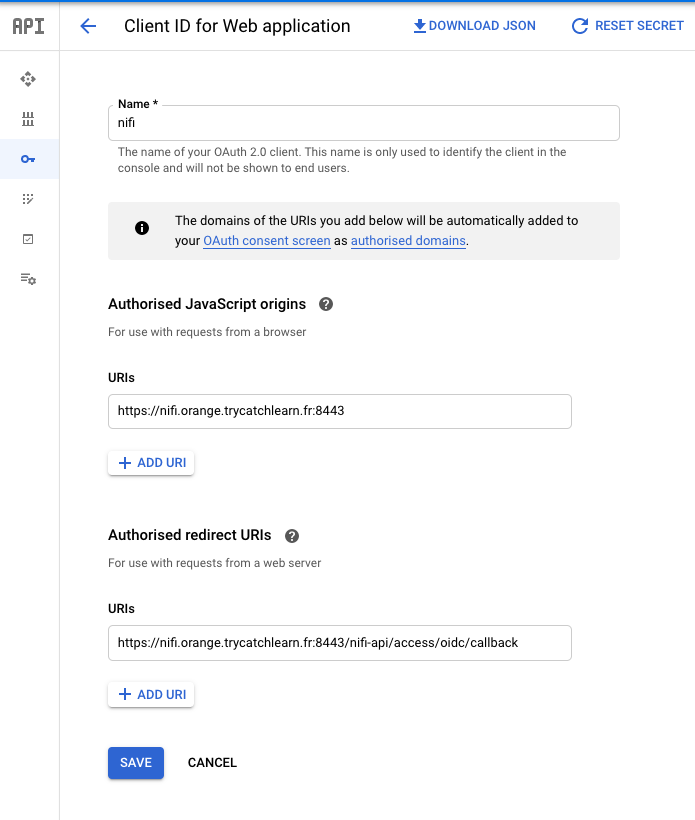
SecuredNifi. - For
Authorised JavaScript origins, use your own domain. I'm using :https://nifi.orange.trycatchlearn.fr:8443 - For
Authorised redirect URIsit's your previous URI +/nifi-api/access/oidc/callback, for me :https://nifi.orange.trycatchlearn.fr:8443/nifi-api/access/oidc/callback
- Create the OAuth credentials
Once the credentials are created, you will get a client ID and a client secret that you will need in NifiCluster definition.
Create service account
For the GKE cluster deployment you need a service account with Editor role, and Kubernetes Engine Admin.
Deploy secured cluster
Once you have completed the above prerequisites, deploying you NiFi cluster will only take three steps and few minutes.
Open your Google Cloud Console in your GCP project and run :
Deploy GKE cluster with Terraform
Deployment
You can configure variables before running the deployment in the file terraform/env/demo.tfvars :
- project : GCP project ID
- region : GCP region
- zone : GCP zone
- cluster_machines_types : defines the machine type for GKE cluster nodes
- min_node : minimum number of nodes in the NodePool. Must be >=0 and <= max_node_count.
- max_node : maximum number of nodes in the NodePool. Must be >= min_node_count.
- initial_node_count : the number of nodes to create in this cluster's default node pool.
- preemptible : true/false using preemptibles nodes.
This operation could take 15 minutes (time to the GKE cluster and its nodes to setup)
Once the deployment is ready load the GKE configuration :
Explanations
The first step is to deploy a GKE cluster, with the required configuration, you can for example check the nodes configuration :
Once the cluster is deployed, we created all the required namespaces :
In the cert-manager namespace we deployed a cert-manager stack in a cluster-wide scope, which will be responsible for all the certificates generation.
note
in this post, we will let let's encrypt act as certificate authority.
For more informations check documentation page
It will also deploy the Zookeeper cluster based on the bitnami helm chart :
And finally it deploys the NiFiKop operator which is ready to create NiFi clusters :
Deploy NiFiKop
Now we have to deploy the NiFiKop operator :
Deploy the NiFiKop crds :
- k8s version 1.16+
- k8s previous versions
- helm 3
- helm previous
Deploy Let's encrypt issuer
As mentioned at the start of the article, we want to delegate the certificate authority to Let's Encrypt, so to do this with cert-manager we have to create an issuer.
So edit the kubernetes/nifi/letsencryptissuer.yaml and set it with your own values :
You just have to change the Spec.Acme.Email field with your own email.
You can also change the acme server to prod one https://acme-v02.api.letsencrypt.org/directory
Once the configuration is ok, you can deploy the Issuer :
Deploy Secured NiFi cluster
You will now deploy your secured cluster to do so edit the kubernetes/nifi/secured_nifi_cluster.yaml and set with your own values :
- Spec.InitialAdminUser : Your GCP account email (this will give you the admin role into the NiFi cluster), in my case
alexandre.guitton@orange.com - Spec.ReadOnlyConfig.NifiProperties.WebProxyHosts[0] : The web hostname configured in the Oauth section, in my case
nifi.orange.trycatchlearn.fr - Spec.ReadOnlyConfig.NifiProperties.OverrideConfigs : you have to set the following properties :
- nifi.security.user.oidc.client.id : OAuth Client ID
- nifi.security.user.oidc.client.secret : OAuth Client secret
- Spec.ListenersConfig.ClusterDomain : This the domain name you configure into your
External DNSandCloud DNSzone. In my caseorange.trycatchlearn.fr
Once the configuration is ok, you can deploy the NifiCluster :
The first time can take some time, the cert-manager and Let's encrypt will check that you are able to manage the dns zone, so if you check the pods :
And check the ingresses :
You can see some ngnix instances that are used to validate all the dns names you required into your certificates (for nodes and services).
After some times your cluster should be running :
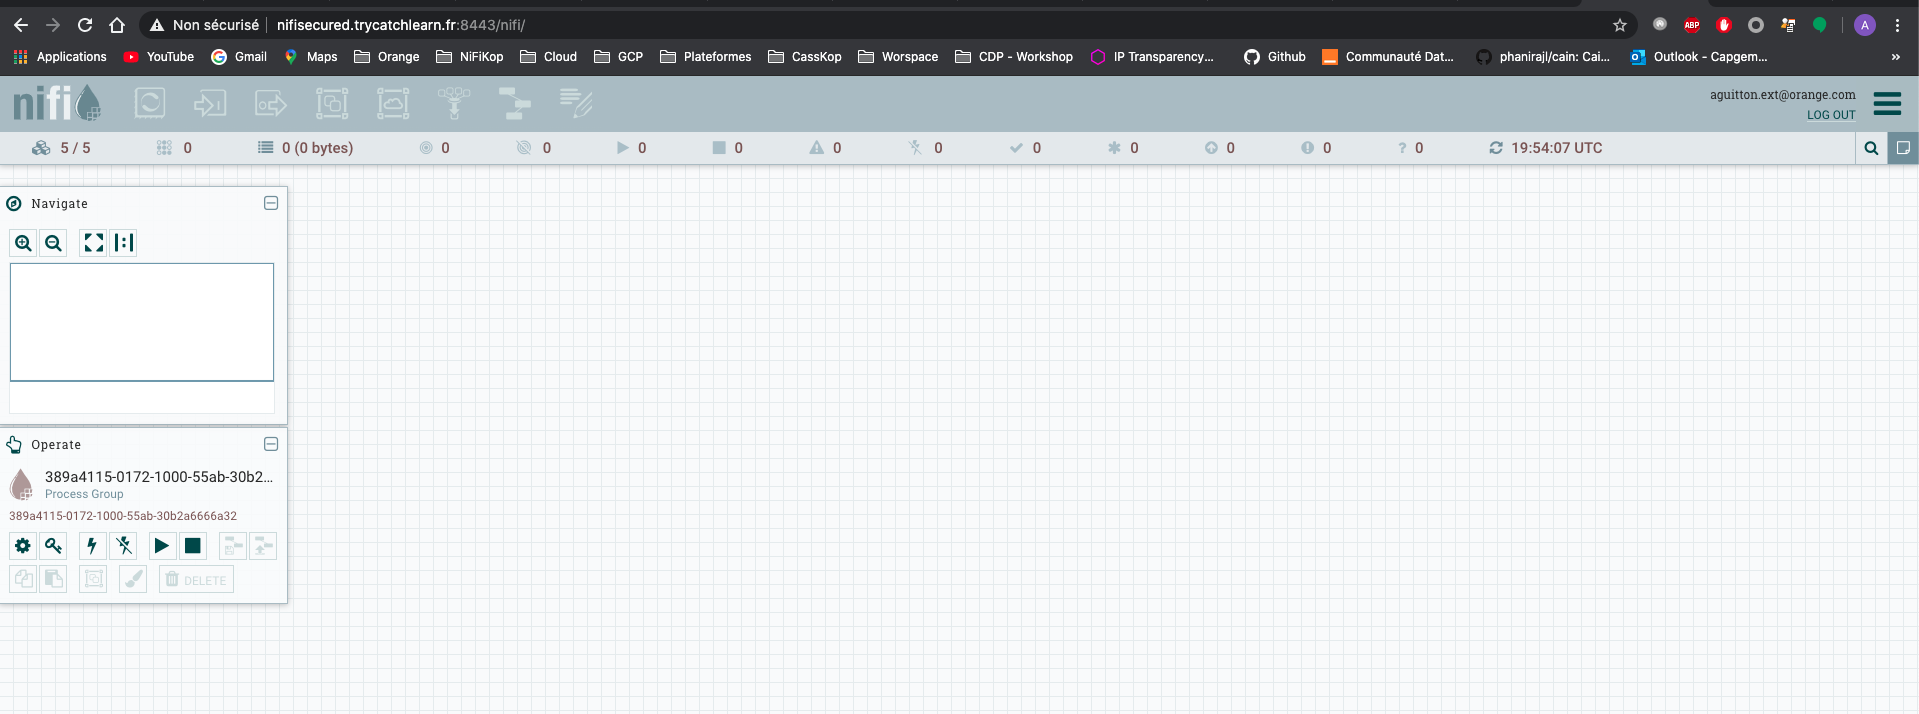
Access to your secured NiFi Cluster
You can now access the NiFi cluster using the loadbalancer service hostname <nifi's cluster name>.<DNS name>, in my case it's https://nifi.orange.trycatchlearn.fr:8443/nifi and authenticate on the cluster using the admin account email address configured in the NifiCluster resource.
Here is my 3-nodes secured NiFi cluster up and running :
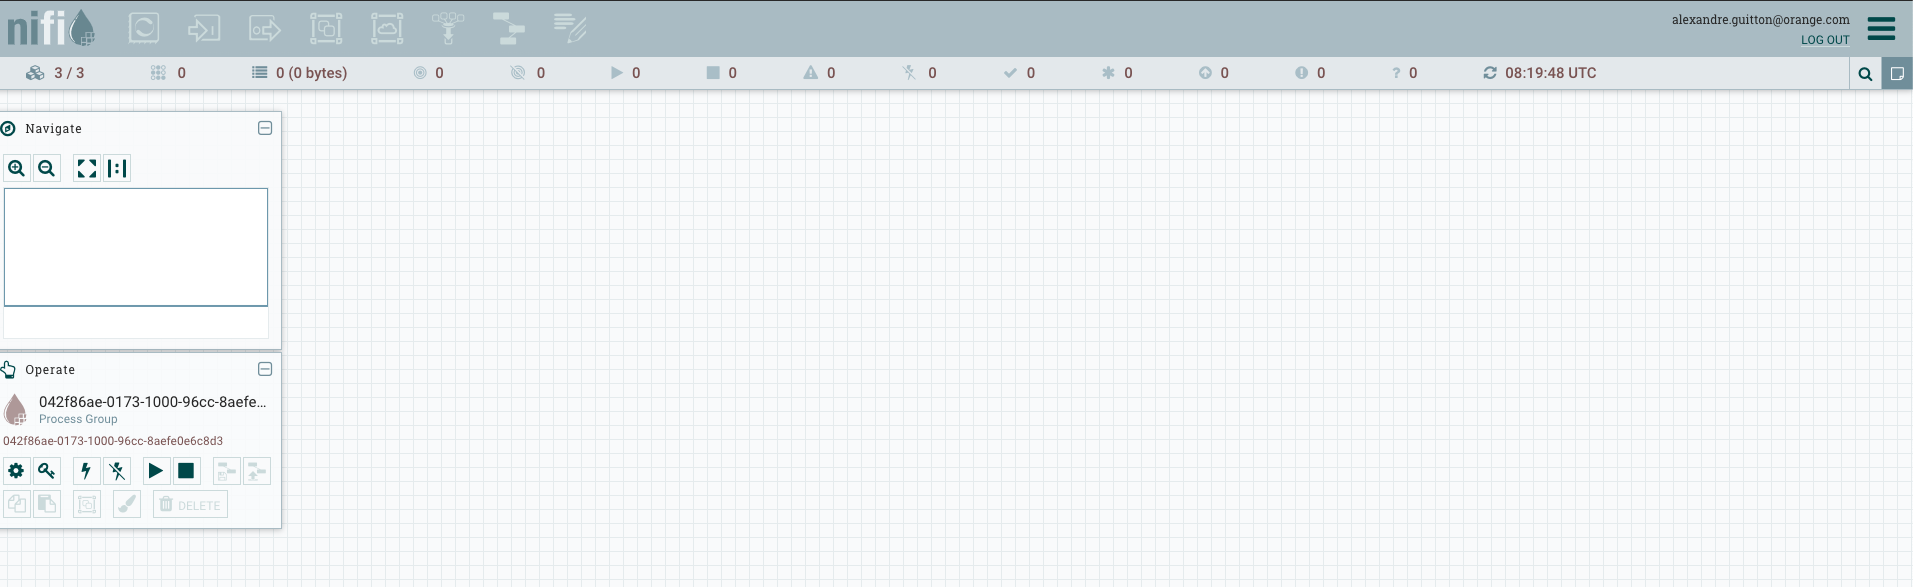
3-nodes secured NiFi cluster :

You can now update the authorizations and add additional users/groups.
note
Just have a look on documentation's page to finish cleaning setup. And you can now start to play with scaling, following the documentation's page
Cleaning
Start to remove you NiFi cluster and NiFiKop operator :
To destroy all resources you created, you just need to run :